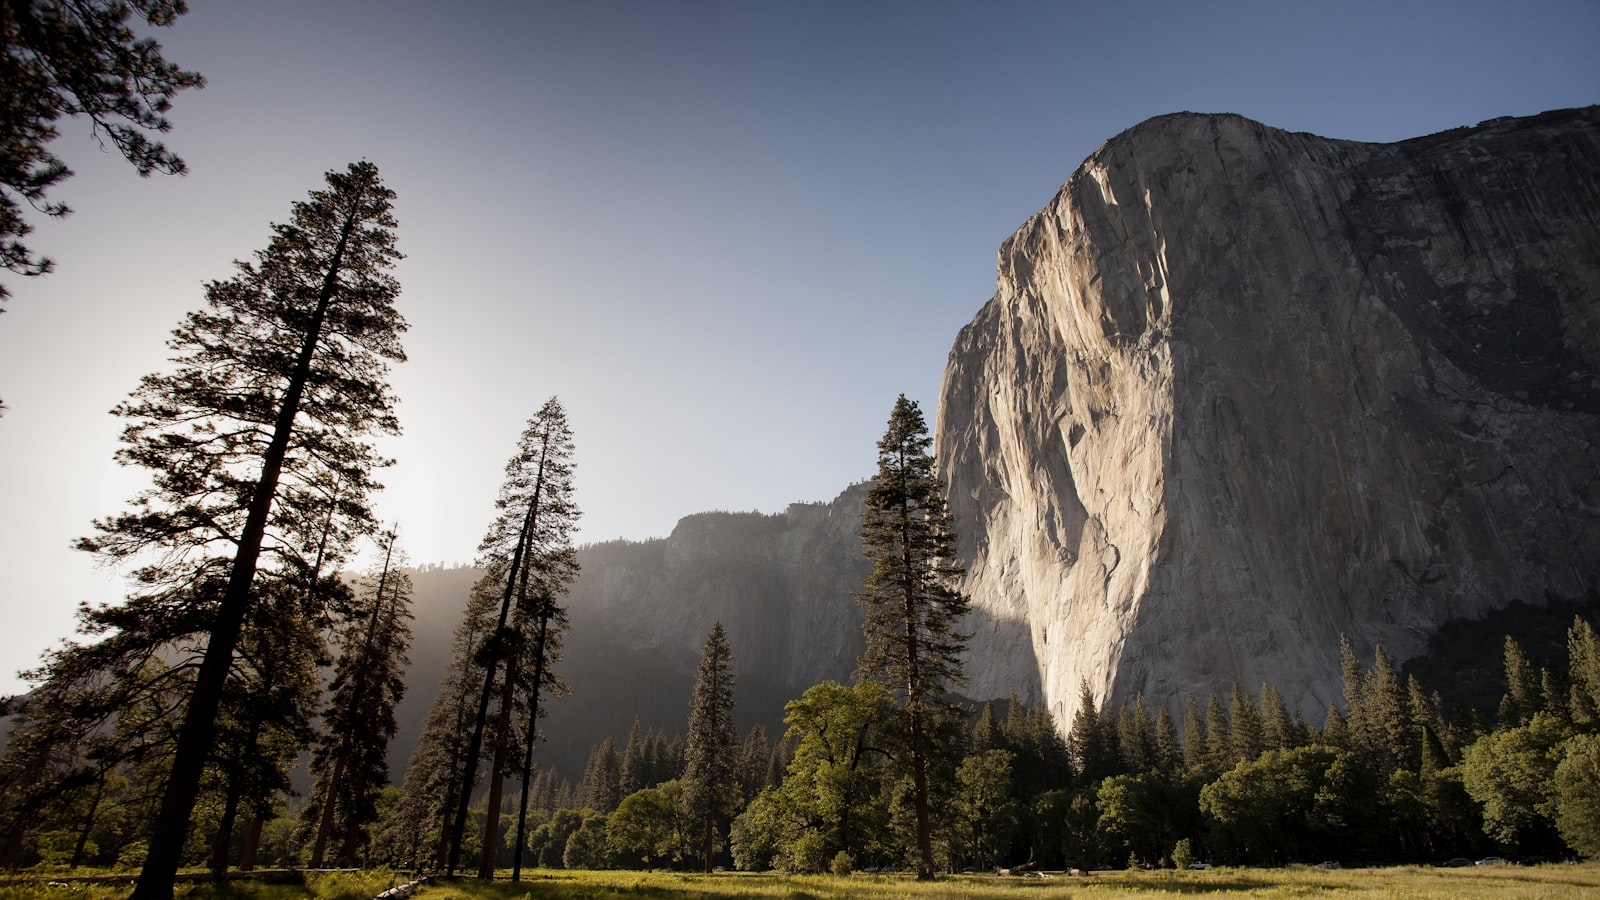
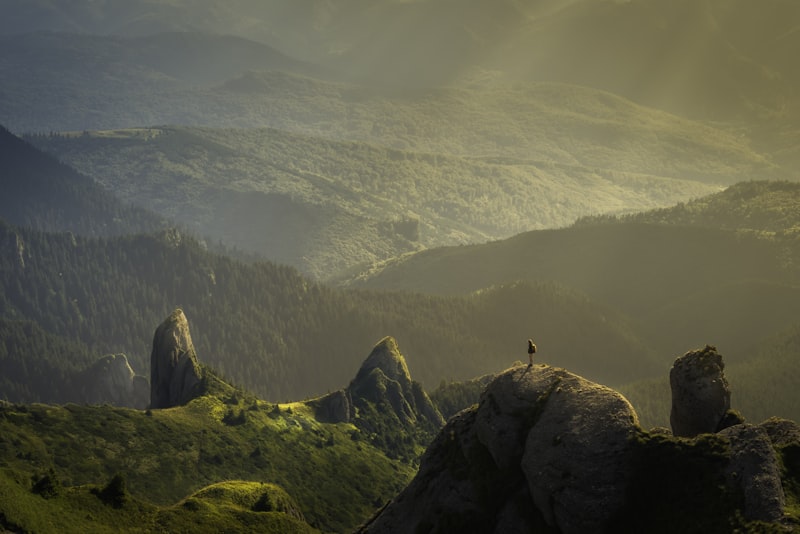
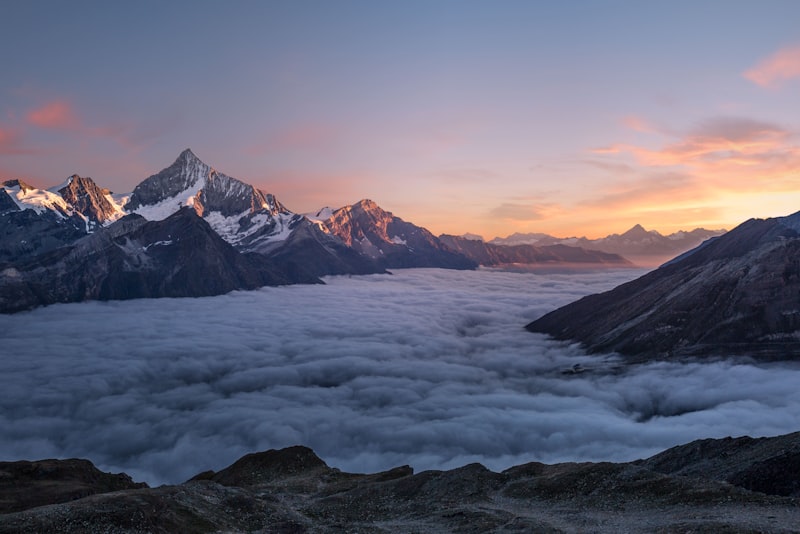
Some of my favorite photos were made by shooting through something. A door left ajar, a gap in a hedge, an archway on a side street — I put that object in the foreground and let the real subject sit inside it. The result has a depth and a focus that a straight-on shot rarely gets. This is framing within the frame, and it's one of the more rewarding composition tricks to learn on real shoots.
The idea is simple: use something already in the scene to surround your subject, the way a picture frame surrounds a painting. You're not adding anything. You're finding an opening and shooting through it. Here's how to spot these frames and use them well.
What a natural frame does#
A natural frame is any element in a scene that partly or fully encloses your subject and draws the eye toward it. It might be an obvious rectangle, like a window or doorway, or something looser, like overhanging branches or two buildings leaning together. Whatever shape it takes, its job is to wrap around the subject and say "look here."
The effect works on a couple of levels. Most immediately, a frame concentrates attention. When the edges of the photo already contain a border, the eye is funneled inward to whatever sits in the middle, so a frame is a quiet, effective way to point at your subject without cropping tightly.
It also adds a sense of depth, which flat photos often lack. A frame in the foreground, a subject in the middle distance, and a background beyond creates distinct layers, and layers are what make a two-dimensional photo feel three-dimensional. The viewer senses they're looking into the scene, not just at it.
Where to find frames on a shoot#
Once you start hunting for frames, ordinary places turn out to be full of them. On a real shoot I'll often walk a location twice — once looking at subjects, once looking for things to shoot through. The second pass changes everything.
- Doorways and windows are the most reliable frames, indoors and out, with clean rectangular edges.
- Arches, bridges, and tunnels give you strong curved or geometric borders.
- Tree branches and leaves make soft, organic frames that work beautifully for portraits and landscapes.
- Gaps in rocks, walls, or fences frame a distant view through a natural opening.
- Everyday objects — a car window, a gap between people, the handle of a cup — can frame a subject in a candid moment.
Nature and cities both hand you frames constantly. A cave mouth framing a beach, an alley framing a person at the far end, a canopy of leaves framing a hillside — the shapes are everywhere once you're looking. The skill isn't finding beautiful locations; it's learning to see the borders that ordinary places already contain.
Position yourself to line it up#
Finding a frame is only the start. The photo lives or dies on where you stand, because your position decides how the frame and subject line up. Small shifts make a big difference here, so it's worth moving around before you settle.
The goal is usually to get the frame in the foreground and the subject cleanly inside it, with the subject placed where you actually want the eye to land. This is where framing meets the other composition tools — dropping the subject onto a strong point inside the frame, as I describe in how to use the rule of thirds, keeps the shot from feeling too centered and static.
Move until the frame surrounds your subject the way you intend. A doorway that clips the top of a person's head, or branches that cover their face, ruins the effect. A step forward or a crouch is usually all it takes to fix it.
Distance matters too. Get close to the frame and it looms large, dominating the edges and creating a strong sense of looking through. Step back and the frame becomes a smaller border around a wider scene. Neither is wrong; they just feel different, so try both and see which suits the subject.
Add depth and keep it clean#
The reason frames work so well is the depth they create, and you can lean into that. When your foreground frame is sharp and close, and your subject sits farther back, the eye clearly reads two distances at once. That layering is what makes framed shots feel immersive. Frames often overlap with leading lines, too — the edges of an archway or a row of columns can both surround the subject and point toward it, which I get into in a beginner's guide to leading lines.
The main risk with frames is clutter. A frame is meant to focus attention, but a messy or unrelated one does the opposite, adding confusion instead of clarity. Keep it clean and keep it connected to the subject.
A short checklist I run through before pressing the shutter:
- Make sure the frame clearly surrounds the subject, not just sits nearby.
- Check the corners and edges for distractions creeping in.
- Decide whether you want the frame sharp or softly blurred, and focus accordingly.
- Keep the frame relevant — a random object framing an unrelated subject just looks accidental.
Focus is a genuine choice here. Sometimes you want the frame razor-sharp for a graphic, deliberate look. Other times, especially with branches or foreground objects, letting the frame fall soft and out of focus makes it feel like a natural vignette that gently cradles the subject. Try focusing on the subject and letting a close frame blur, then compare it to a version with everything sharp.
Start shooting through things#
Framing is a habit as much as a technique. The photographers who use it well have simply trained themselves to walk into a space and look for openings — doors, gaps, branches, arches — before they even think about the subject. It becomes second nature, and it turns dull locations into ones full of possibility.
Set yourself a task on your next outing: find five natural frames and shoot a subject through each one. Try a doorway, some branches, an arch, a window, and a gap in a wall or fence. Move around until the frame sits cleanly around your subject, and pay attention to how much depth appears when you get the layers right. You'll come away seeing borders everywhere, and your photos will start to feel like you're inviting the viewer to look through, not just at.