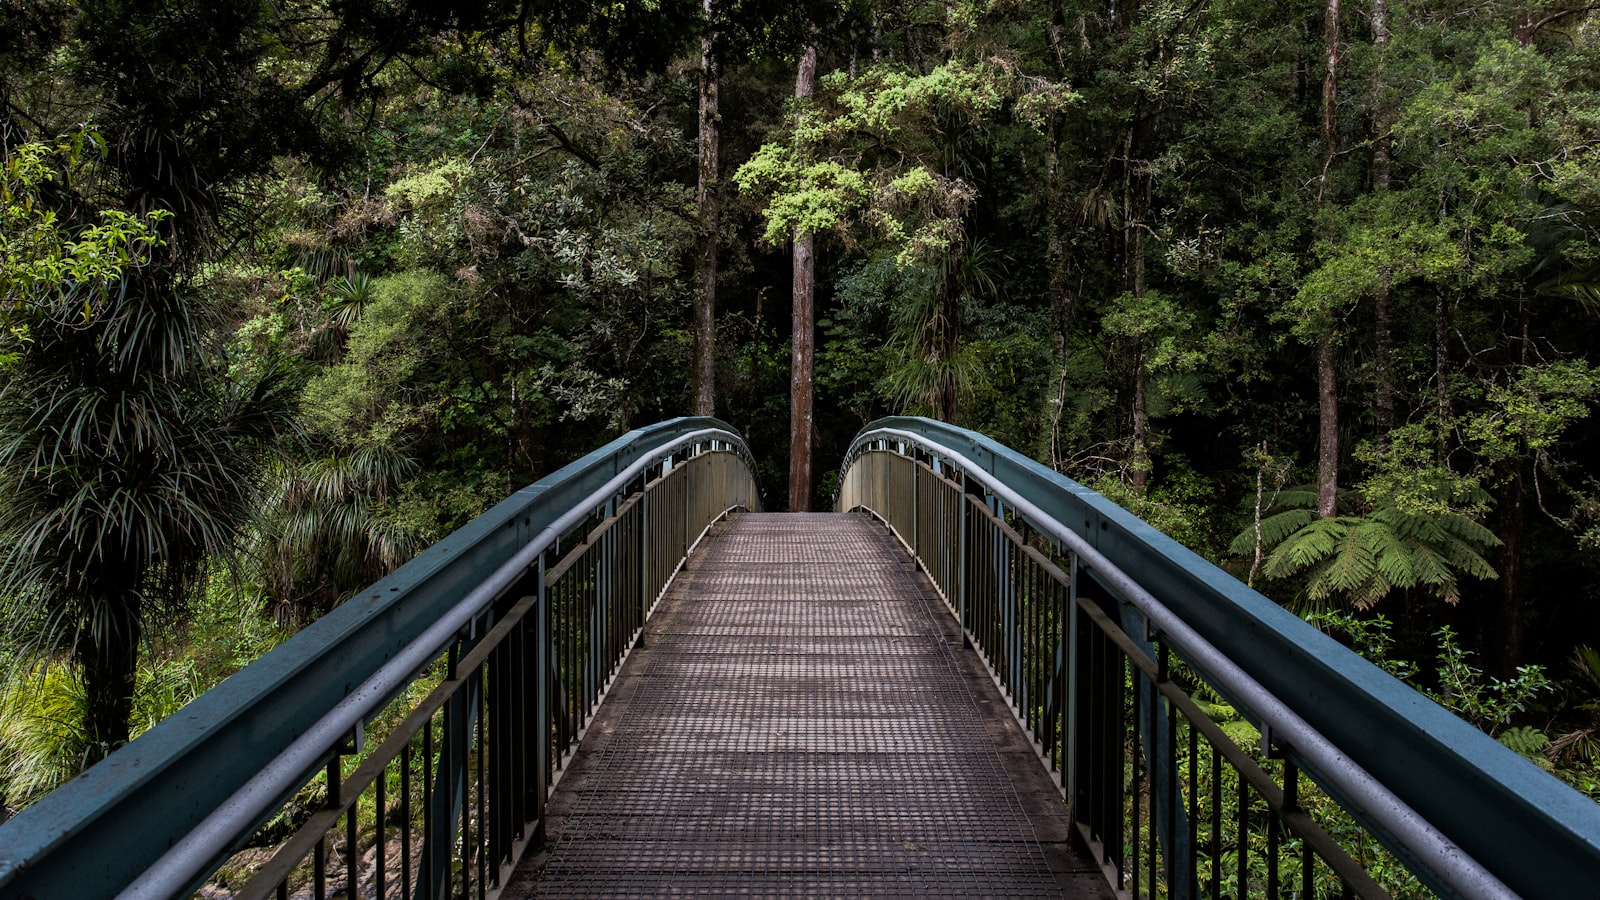
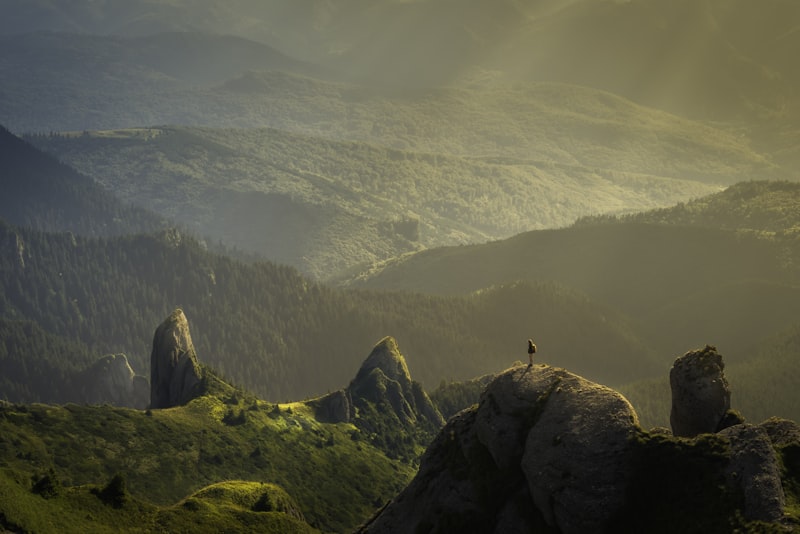
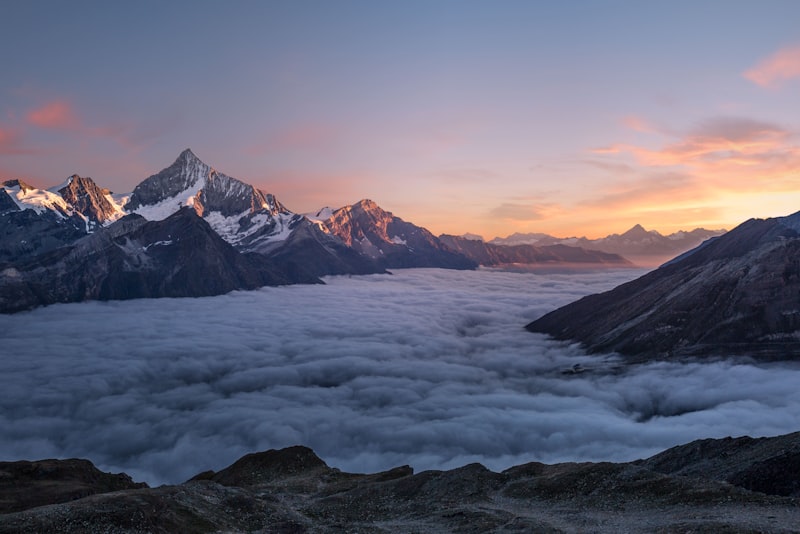
Once you notice leading lines, you can't stop seeing them. A footpath curving into the trees, the rail of a pier, the crease of a shadow across a wall — they're everywhere, and they quietly tell your eye where to look. Photographers use them on purpose, and it's one of the most satisfying tricks to learn because it works with things already sitting in the scene.
You don't add leading lines. You find them, then you move until they do what you want. That's really the whole skill: seeing the lines that are already there and using your position to aim them. Here's how to start.
What leading lines do for a photo#
A leading line is any shape in your frame that draws the viewer's eye along a path. It might be obvious, like a road stretching to the horizon, or subtle, like the edge of a shadow or a row of streetlights fading into the distance. Whatever form it takes, its job is the same: to move the eye through the picture instead of letting it sit in one spot.
That movement matters because a flat photo gives the eye nowhere to go. A line adds a sense of journey and depth, pulling the viewer from the front of the scene into the background. It's the difference between looking at a picture and traveling through it. Even a very simple subject gains energy when a line points the way toward it.
Lines also create a feeling. A straight road running dead ahead feels bold and direct. A gently curving path feels calm and inviting. Sharp diagonals feel dynamic and a little tense. You're not just guiding the eye — you're setting a mood — so it's worth noticing what a line says before you build a photo around it.
Where to find lines in ordinary scenes#
The good news is that lines are almost everywhere once you look. You don't need dramatic locations. A quiet street or a back garden has plenty if you slow down and hunt for them.
- Roads, paths, and trails are the classic choice, and they work because they naturally recede into the distance.
- Fences, walls, and railings run in strong straight lines that are easy to align.
- Rivers, streams, and shorelines add a soft, winding line with a natural flow.
- Shadows and light cast by low sun stretch across the ground and make excellent temporary lines.
- Rows of anything — trees, columns, market stalls, parked bikes — form a repeating line that leads the eye.
Man-made environments are full of them too: staircases, bridges, tiled floors, the seams where a ceiling meets a wall. The trick is to stop looking at objects as objects and start seeing the directions they point. A staircase isn't just stairs; it's a diagonal that can carry the eye straight to a person at the top.
Train yourself with a simple question on every walk: what in this scene points somewhere? Ask it enough times and spotting lines becomes automatic, and you'll frame them without slowing down to think.
Aim the line at something#
Here's the mistake I made for a long time: I'd photograph a beautiful road disappearing into the distance, and the photo would feel empty. The line was there, but it led to nothing. A leading line needs a destination. It should carry the eye toward a subject — a person, a building, a tree, a mountain — so that the journey ends somewhere worth arriving.
Place your subject where the line points, and the two work together. The line says "look this way," and the subject rewards the look. This pairs naturally with placing that subject thoughtfully in the frame, which I cover in how to use the rule of thirds — a line that ends at an off-center subject on a third is a reliably strong composition.
If you can't find a subject for your line, sometimes the line itself can be the subject, especially if it's beautiful or repeating. But most of the time, the photo gets stronger the moment you give the eye a place to land. Before you shoot, trace the line with your own eye and ask where it takes you. If the answer is "off the edge, into nothing," reframe until it lands on something.
Position yourself to make lines stronger#
Finding a line is half the job. The other half is choosing where you stand, because your position controls how powerful the line feels. Small movements change everything here.
The strongest lines usually enter the frame from a bottom corner and travel inward and upward. That diagonal creates the most depth, so try crouching or shifting to one side until a road or fence sweeps in from the corner rather than running flat across the middle. Getting low often exaggerates the effect, making a path seem to rush toward the horizon.
A few positioning habits that help:
- Get low to stretch a line and make the foreground loom larger.
- Move sideways until the line enters from a corner, not the center.
- Look for two lines that meet — they create a natural point of focus where they converge.
- Keep the line clean by clearing distractions from where it travels.
Converging lines deserve special mention. When two lines — the edges of a road, a tunnel, a row of trees on both sides — meet at a point in the distance, that meeting point becomes incredibly strong. Put your subject right there and it's almost impossible for the eye to look anywhere else. Lines and edges can also work as a frame around your subject, which shades into a related idea I explore in how to frame photos with natural frames.
Practice until you see them everywhere#
Leading lines reward attention more than equipment. The photographers who use them well aren't carrying special gear; they've simply trained themselves to notice direction in a scene and to move their feet until the lines do their job.
Set yourself a short exercise: on your next walk, find five leading lines and shoot each one aimed at a subject. Try a road, a fence, a shadow, a railing, and a row of something. Then look back at the results and notice which ones pull you in and which fall flat. You'll quickly learn that a line pointing at nothing is wasted, and a line pointing at the right subject can carry an otherwise ordinary photo. Keep looking for direction in the world, and it'll start showing up in your pictures without you even trying.