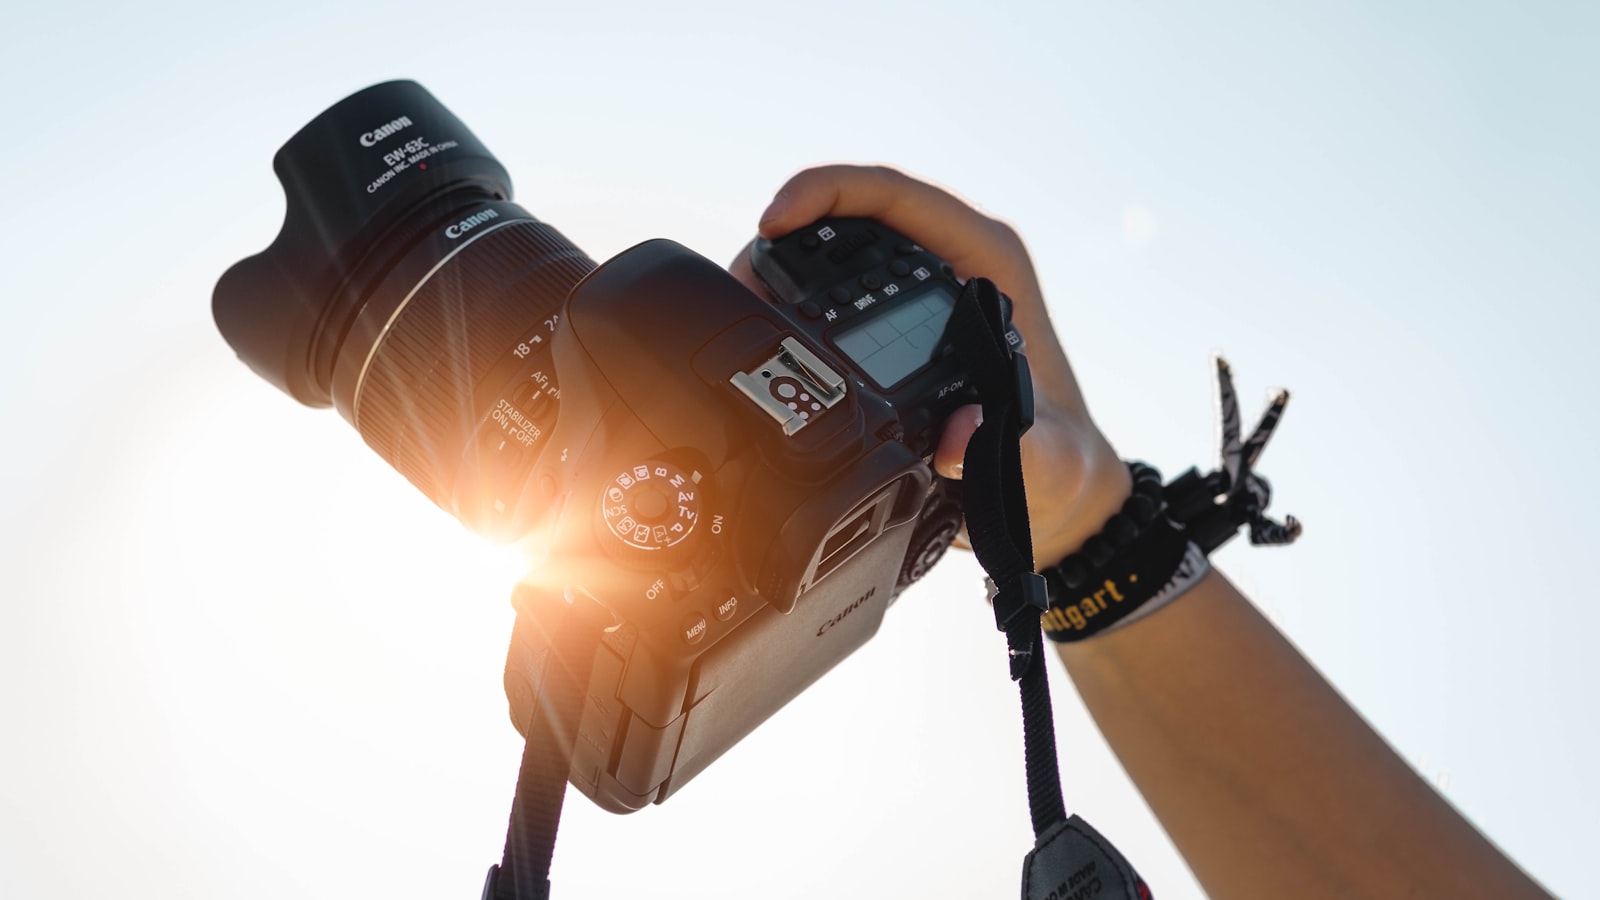
That little dial on top of your camera, the one with letters and picture icons, is the single biggest step between snapshots and photographs you actually meant to take. Plenty of people leave it on the green "auto" square for years, never realizing how close the good stuff is.
The lettered modes — P, A, S, and M — aren't reserved for professionals. Each one just hands you a little more control while the camera keeps helping in the background. You can move up one letter at a time, at your own pace, and never feel lost along the way.
What the modes have in common#
Every mode is chasing the same goal: a correctly exposed photo, using the three controls of the exposure triangle — aperture, shutter speed, and ISO. The only thing that changes between modes is who decides what: you, the camera, or a bit of both.
Full auto decides everything and locks you out of the choices. The lettered modes open that door gradually. Think of them as a sliding scale from "camera does it all" to "you do it all," with two friendly stops in between.
One thing carries across all of them and deserves a mention early: exposure compensation. In P, A, and S, the camera is still deciding the overall brightness, and sometimes it decides wrong — a snowy scene comes out grey, a spotlit performer comes out too bright. Exposure compensation is a simple plus-or-minus dial that lets you tell the camera "a bit brighter" or "a bit darker" without leaving the mode you're in. It's the training wheels that make the semi-automatic modes genuinely usable.
P — Program mode#
Program mode is auto with the handbrake released. The camera still sets aperture and shutter speed for a good exposure, but it lets you override the things it normally locks: ISO, flash, white balance, exposure compensation. Many cameras also let you spin a dial to shift between equivalent aperture-and-shutter pairs that give the same brightness.
P is a gentle first step out of auto. You keep the safety of automatic exposure while you start learning to nudge the settings that change the look of a shot.
It's also a sensible mode to hand your camera to someone else, or to fall back on when the scene changes faster than you can think. You keep a few important overrides while the camera guarantees a usable exposure. Plenty of experienced photographers drop into P when they walk into an unpredictable situation and want one less thing to manage.
A (or Av) — Aperture priority#
This is the mode most enthusiasts live in, and for good reason. You set the aperture; the camera picks the matching shutter speed. Because aperture controls depth of field, this mode puts the most creative decision squarely in your hands.
Want a blurred background for a portrait? Set a wide aperture and shoot. Want a sharp landscape? Set a narrow one. The camera keeps the exposure correct while you control the look. If that trade-off is new to you, read aperture explained: depth of field made simple alongside this.
Keep half an eye on the shutter speed the camera chooses in this mode, though. In dim light it may drop the shutter so low that hand shake creeps in, and because you're not setting it yourself, it's easy to miss. If the number falls too far, raise your ISO or open the aperture wider to pull it back up. The camera is handling the shutter, not guaranteeing it's fast enough for the shot in front of you.
S (or Tv) — Shutter priority#
The mirror image of aperture priority. You set the shutter speed; the camera chooses the aperture. This is the mode for anything where motion is the point.
Reach for shutter priority whenever "how fast is it moving?" is the first question the scene asks. Kids, pets, sports, waterfalls, traffic at night — set the speed you need to freeze or blur the action, and let the camera handle the rest.
It's the mode I switch to the moment a calm afternoon turns into a game of chase, and I switch back afterward.
M — Manual mode#
In manual you set all three: aperture, shutter, and ISO. The camera stops deciding and simply shows you a light meter so you can judge the exposure yourself. It sounds intimidating and isn't, once the other modes have taught you what each control does.
Manual earns its keep in tricky, consistent light — a stage show, a studio, a snowy scene that fools the meter — where you want the exposure nailed to one setting and kept there frame after frame. You won't need it every day, but the day you do, you'll be glad you practiced.
A gentle way to ease into manual is to leave ISO on auto at first. You set aperture and shutter for the look and the motion you want, and the camera nudges ISO to balance the exposure. That gives you most of the creative control of full manual with a safety net underneath, and it's how a lot of people cross over from the priority modes without the early frustration.
A quick way to remember the ladder:
- P: camera sets aperture and shutter, you tweak everything else
- A: you set the aperture, camera sets the shutter
- S: you set the shutter, camera sets the aperture
- M: you set all three yourself
Which mode should you use?#
Start in aperture priority. It teaches the control that most changes how your photos look, it's forgiving, and it covers the large majority of everyday shooting. Spend a few weeks there, until choosing an aperture feels automatic and you stop thinking about it. Shoot everyday things — a meal, a friend, a street corner — so the mode becomes second nature on subjects you actually care about.
Then borrow shutter priority whenever you're chasing motion, and try manual on a quiet afternoon when you have time to think it through. There's no prize for using the hardest mode — the best photographers reach for whichever one gets the shot with the least fuss, and now you can do exactly the same.
It also helps to stop thinking of the modes as a ladder you climb and never descend. A wedding photographer might shoot the ceremony in aperture priority, switch to shutter priority for the confetti, and drop to manual under the fixed lights of the reception — all in one afternoon. The dial isn't a ranking from beginner to expert. It's a set of tools, and fluency just means reaching for the right one without having to think about it.