Ask a new photographer what they want their pictures to look like and, sooner or later, they describe it: the subject crisp, the background dissolved into soft color. That look isn't a filter or an expensive trick. It's aperture.
Aperture is one of the three exposure controls, and it's the one that most visibly changes the character of an image. It sets how much of your scene is sharp and how much melts away. Once you understand it, you can decide that look on purpose instead of hoping the camera stumbles onto it.
What aperture actually is#
Inside every lens is a ring of blades that form an adjustable hole. Aperture is the size of that hole. Open it wide and a lot of light floods through; close it down and only a little gets in. That's the mechanical part, and it really is that simple.
We measure the opening in f-stops — f/1.8, f/4, f/8, f/16. Each full step halves or doubles the amount of light, the same way each step on the shutter or ISO scale does. Aperture is one leg of the exposure triangle, so changing it always changes brightness too, and you balance that back with shutter speed or ISO.
It helps to picture what the blades are doing. Wide open, they pull back to leave a large round hole, and light streams in from a broad cone. Stopped down, they close in to a small opening, and only a narrow cone of light reaches the sensor. That physical change in the shape of the light is what quietly does everything else aperture is famous for, from brightness to background blur. Nothing mystical is happening — just a hole getting bigger or smaller.
Why the f-numbers feel backwards#
Here's the bit that annoys everyone at first. A small f-number means a big opening, and a big f-number means a small opening. f/1.8 is wide open; f/22 is a pinhole.
The trick that finally makes it stick: read the f-number as a fraction. f/2 is like 1/2, which is bigger than f/16, which is like 1/16. Once you see it that way, "small number, big opening" stops feeling upside down.
You don't have to love the scale, you just have to remember the direction. Wide open, small number, lots of light. Stopped down, big number, little light. Say it a few times on your next walk and it sticks.
Depth of field, the reason it matters#
Brightness is only half the story. Aperture's real gift is control over depth of field — the slice of your scene, front to back, that appears sharp.
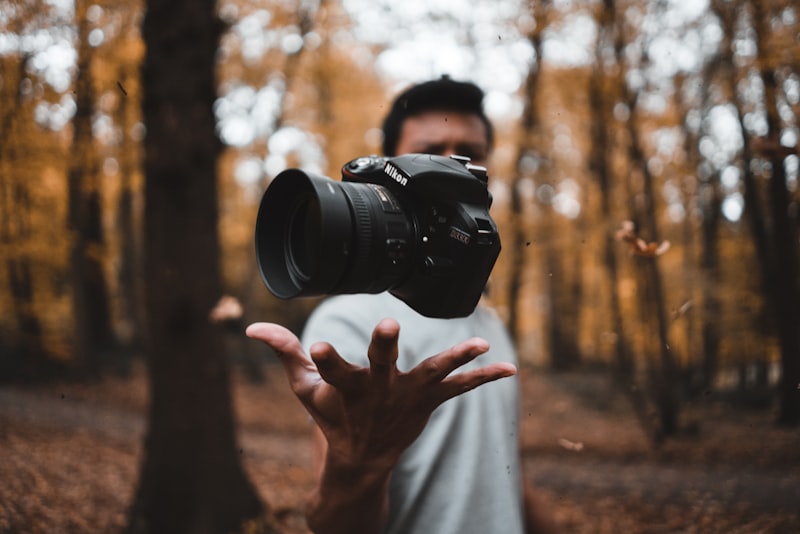
A wide aperture like f/2 gives you a shallow depth of field: your subject is sharp and everything in front of and behind them softens into blur. That's why portraits shot wide open look so clean — the cluttered background simply disappears. A narrow aperture like f/11 gives deep depth of field, keeping the whole scene sharp from the flowers at your feet to the hills on the horizon.
Why does the out-of-focus area look so pleasant? Points of light that fall outside the focus plane spread into soft discs, and photographers call that quality bokeh. A wide aperture produces more of it, which is why bright specks behind a subject — fairy lights, sun through leaves, distant streetlamps — turn into those glowing orbs. It isn't a separate feature to buy; it's just what a wide aperture does with small, bright highlights.
Two other things affect the blur as well. Getting closer to your subject increases it, and a longer lens exaggerates it. So if you can't open the aperture any wider, step in closer or zoom in, and the background will soften further.
Choosing an aperture for the shot#
There's no single "correct" aperture, only the one that fits what you're photographing. A rough guide to keep in your head:
- f/1.8 to f/2.8: portraits, food, single objects — subject sharp, background soft
- f/4 to f/5.6: two or three people, small groups, everyday shots
- f/8 to f/11: landscapes, streets, architecture — most of the frame sharp
- f/16 and beyond: only when you truly need front-to-back sharpness
Start from the effect you want. Blurred background? Open up. Everything sharp? Stop down. Then let the camera or your other settings sort out the exposure.
One habit saves a lot of disappointment: decide the aperture before you raise the camera, not after. If you know you're shooting a portrait, set something wide on the walk over. If you're at a viewpoint, set f/8 or f/11 before you frame up. Making the choice early keeps you from firing off a burst of shots and only noticing at home that the background you wanted soft came out distractingly sharp.
The sweet spot and the limits#
Two honest caveats will keep you out of trouble. First, most lenses are at their sharpest a couple of stops from wide open — somewhere around f/5.6 to f/8 — not at their widest. Shooting wide open looks dreamy but is slightly softer, and the ultra-thin focus can miss the mark.
Second, closing down too far, past about f/16, actually reduces sharpness through an effect called diffraction. So more depth of field isn't always more detail. For most scenes, f/8 is a dependable home base you can return to whenever you're unsure.
There's a practical angle to all this as well. On a bright day you can happily stop down to f/11 and still have plenty of light to work with. In a dim room, stopping down that far would force a slow shutter or a high ISO, so you'll often shoot wider than you'd ideally like just to keep the picture usable. Aperture is never chosen in isolation — the available light always gets a vote.
Remember, too, that a wide aperture lets in more light, which frees you to use a faster shutter — a real help in dim rooms. If freezing or blurring motion is your goal, pair this with shutter speed basics: freeze or blur motion.
Put it into practice this week#
Set your camera to aperture-priority mode and photograph the same subject at three settings — wide open, middle, and stopped right down. Line the three up on your screen afterward and the effect of aperture becomes undeniable: the background goes from creamy to crisp while your subject stays exactly where it was.
Do that once and you'll never again wonder why your portraits don't have that look. You'll simply choose it, dial in the aperture, and take the photo you pictured before you raised the camera.
Try it on a person and on a still object both, because faces and things behave a little differently to the eye. And keep the successful frames somewhere you can revisit them. A small personal library of "this aperture gave me this look" is worth more than any table of numbers, because it's tuned to your lenses and your own taste.